I read somewhere that if you want readers for your photography blog, you need to offer tutorials and practical advice. I haven't done much of that, because as an amateur who struggles with even the most basic skills, I really haven't felt qualified to tell anyone anything about how to go about their photography.
Besides, I have an ambiguous feeling about photography tutorials. Photography is basically "seeing" and then, with your camera, managing to distill what you see into an image. I can't help you with the first part. You have to do your own seeing. If you go into a forest and don't see anything, then forest photography is just not for you. I'm not sure I can help you with the second part either - the distilling. I'm not very conscious about it myself. It just happens, not least in the post-processing phase where I try to emphasize what it was I saw in the situation.
I won't go into the post-processing here, as it would make this post too long. This is all about what you should and should not do while you are out there in the woods with your camera.
But despite my reservations, as the self-proclaimed Denmark's Number One Forest Photographer, it is only fair that I dip my toe into this new territory and offer my completely professionally unfounded, homespun, possibly dangerous, dos and don'ts of forest photography, in no particular order. Yay!
1. Get off the path. You find the best compositions by leaving the path and finding the untouched spots where no one has gone before, let alone with a camera. Sure, your feet will get wet, you will be stung by nettles, but it's worth it.
2. If you get off the path, don't wear shorts. Wet feet and nettle stings may be worth it, but being infected by a wood tick could very well not be worth it. And yes, I've tried it and I was fine, but I may just have been lucky.
Don't get eaten by a bear either, if you live in a country with bears.
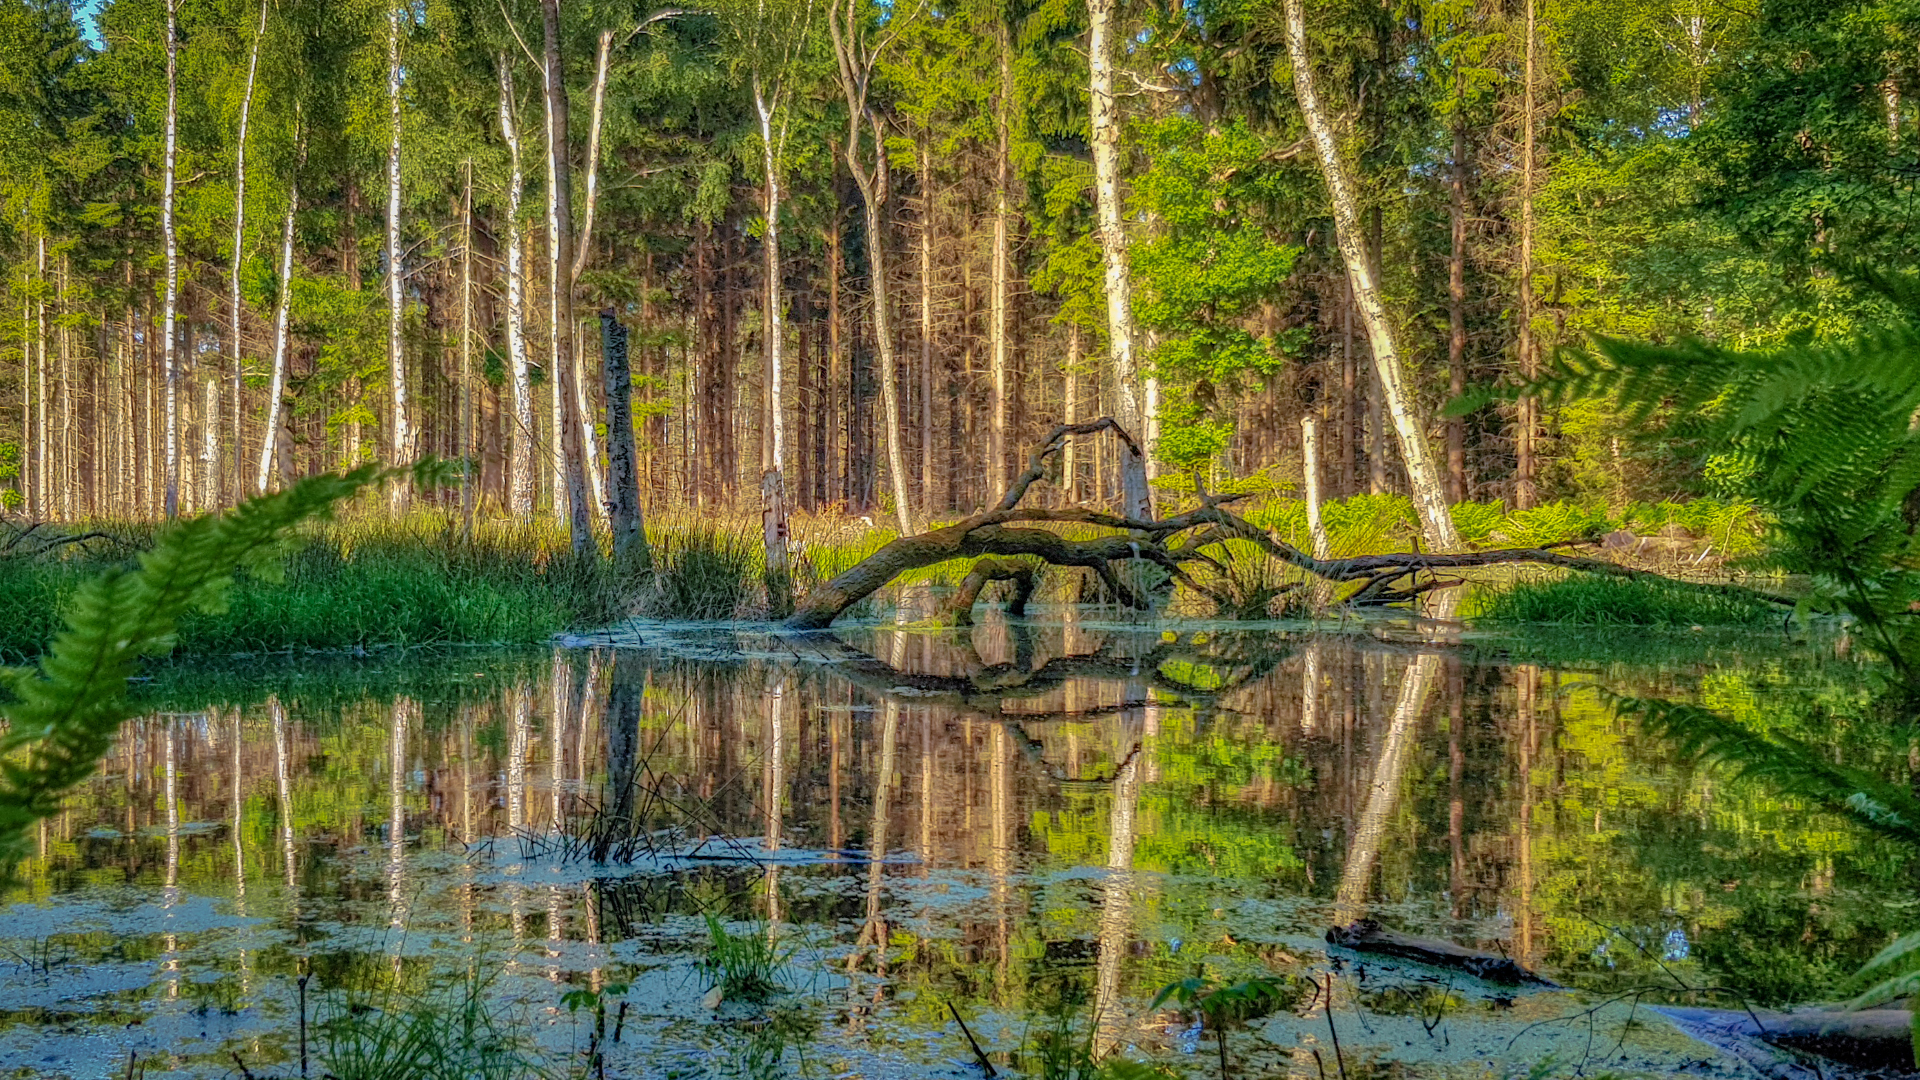
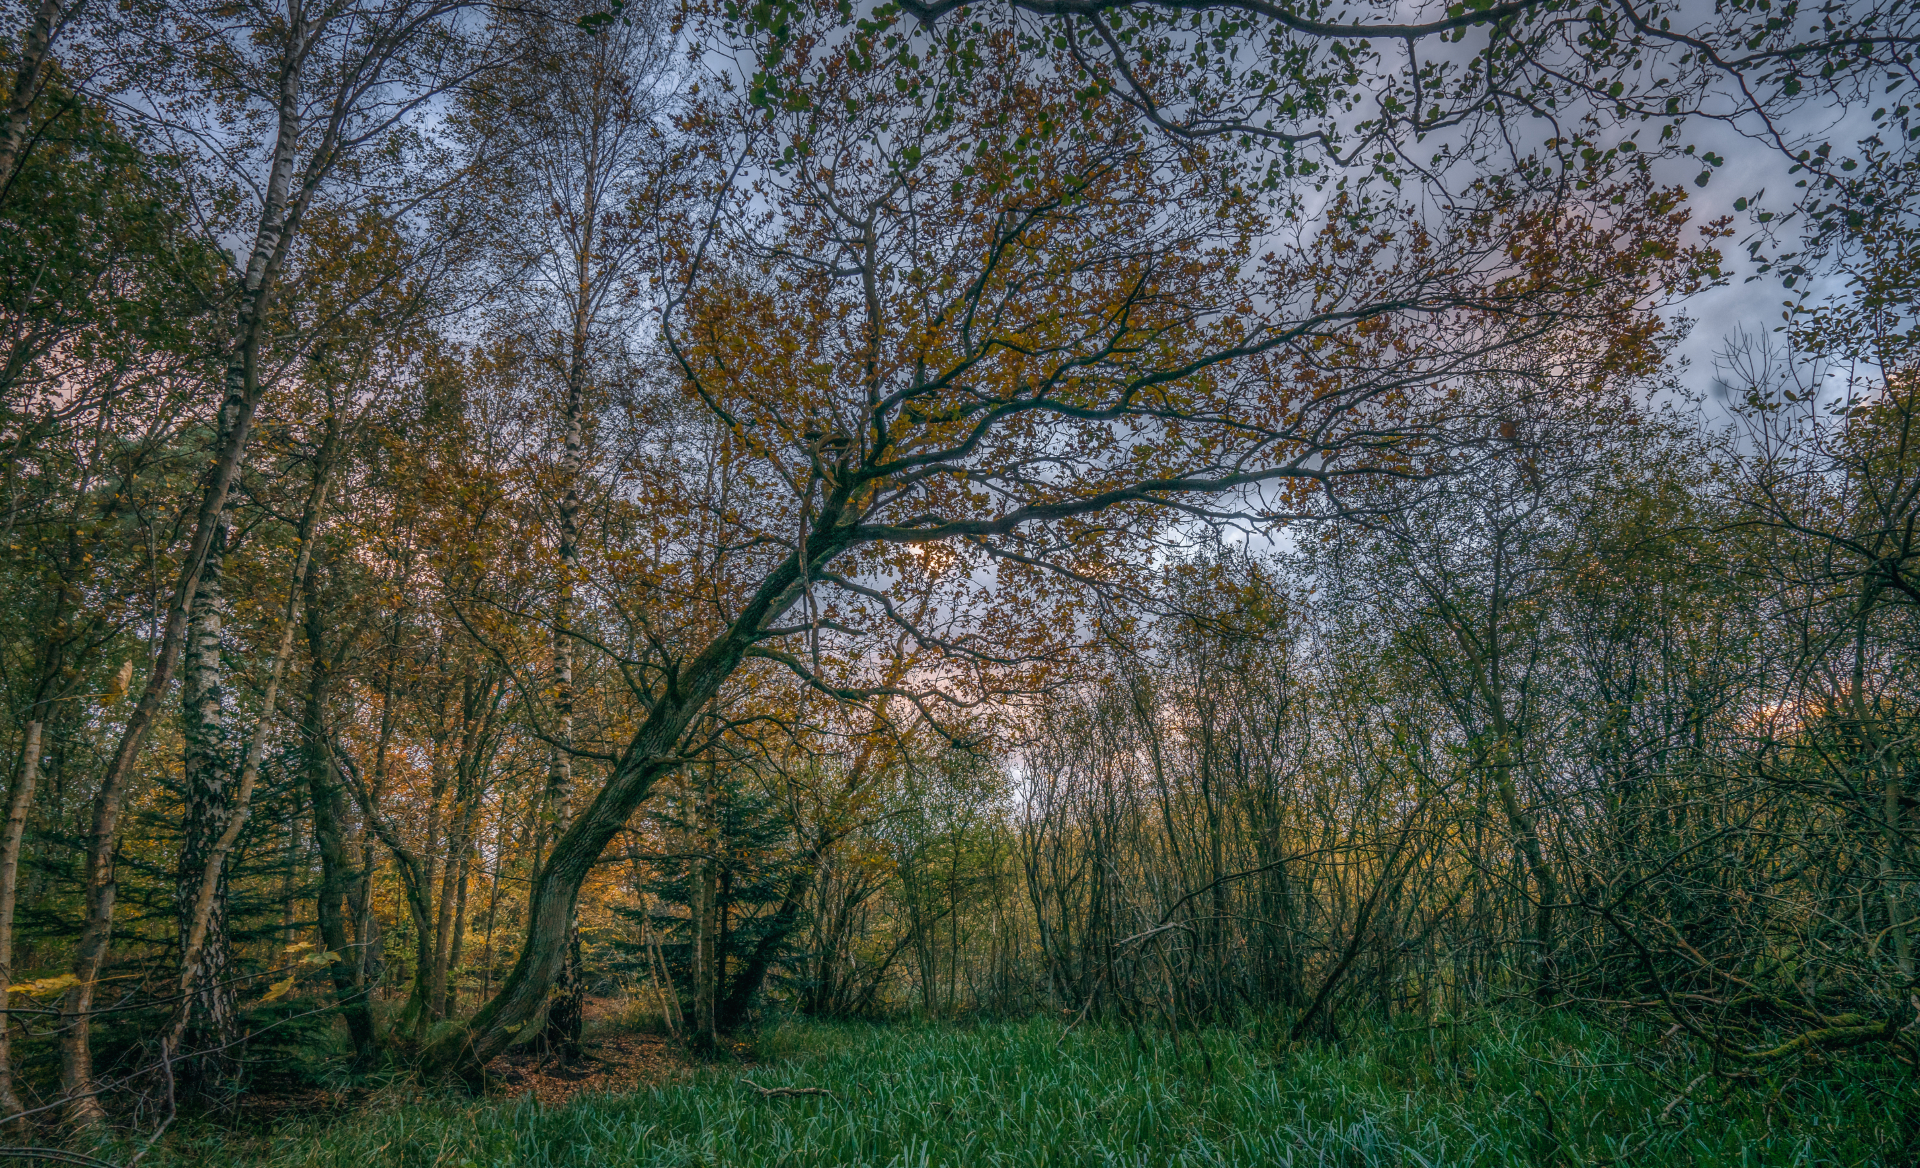
3. Look for the patterns in your surroundings and then capture what breaks the pattern. Like in the below image, the fallen tree is what makes this image interesting, but it's only interesting because all the other trees constitute a whole.
4. Days with clear blue sky are perfect for forest photography. Why? Because that means you will have lots of sunbeams coming through hitting the leaves and trees in gorgeous ways. Besides, clear blue sky doesn't work too well for outside-the-forest landscape photography, so spend those clear days in the woods instead.

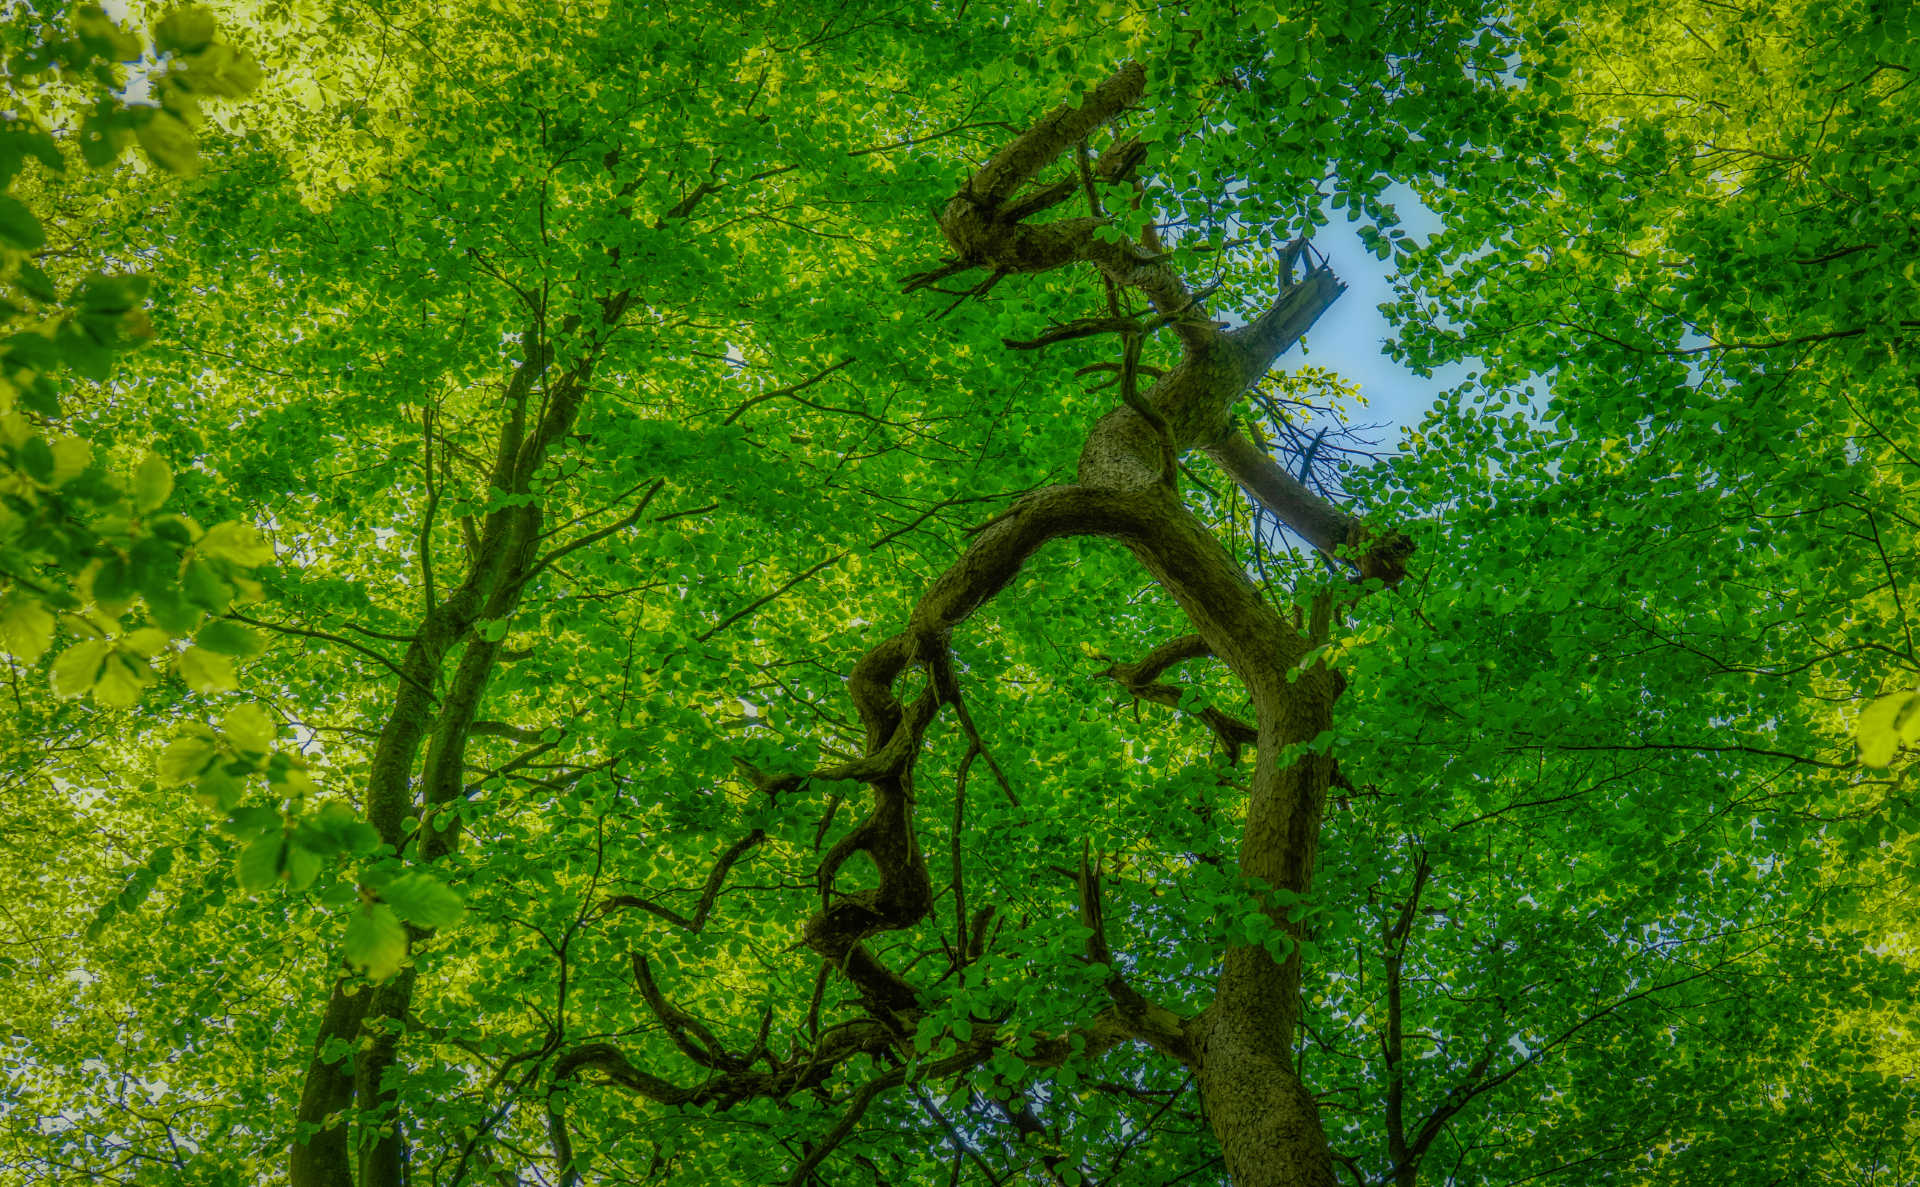
5. Compositions are everywhere! As you walk through the forest, look to your side, look behind you, and look up. The compositions are all around you if you pay attention. I call this one, "The Man in the Tree".
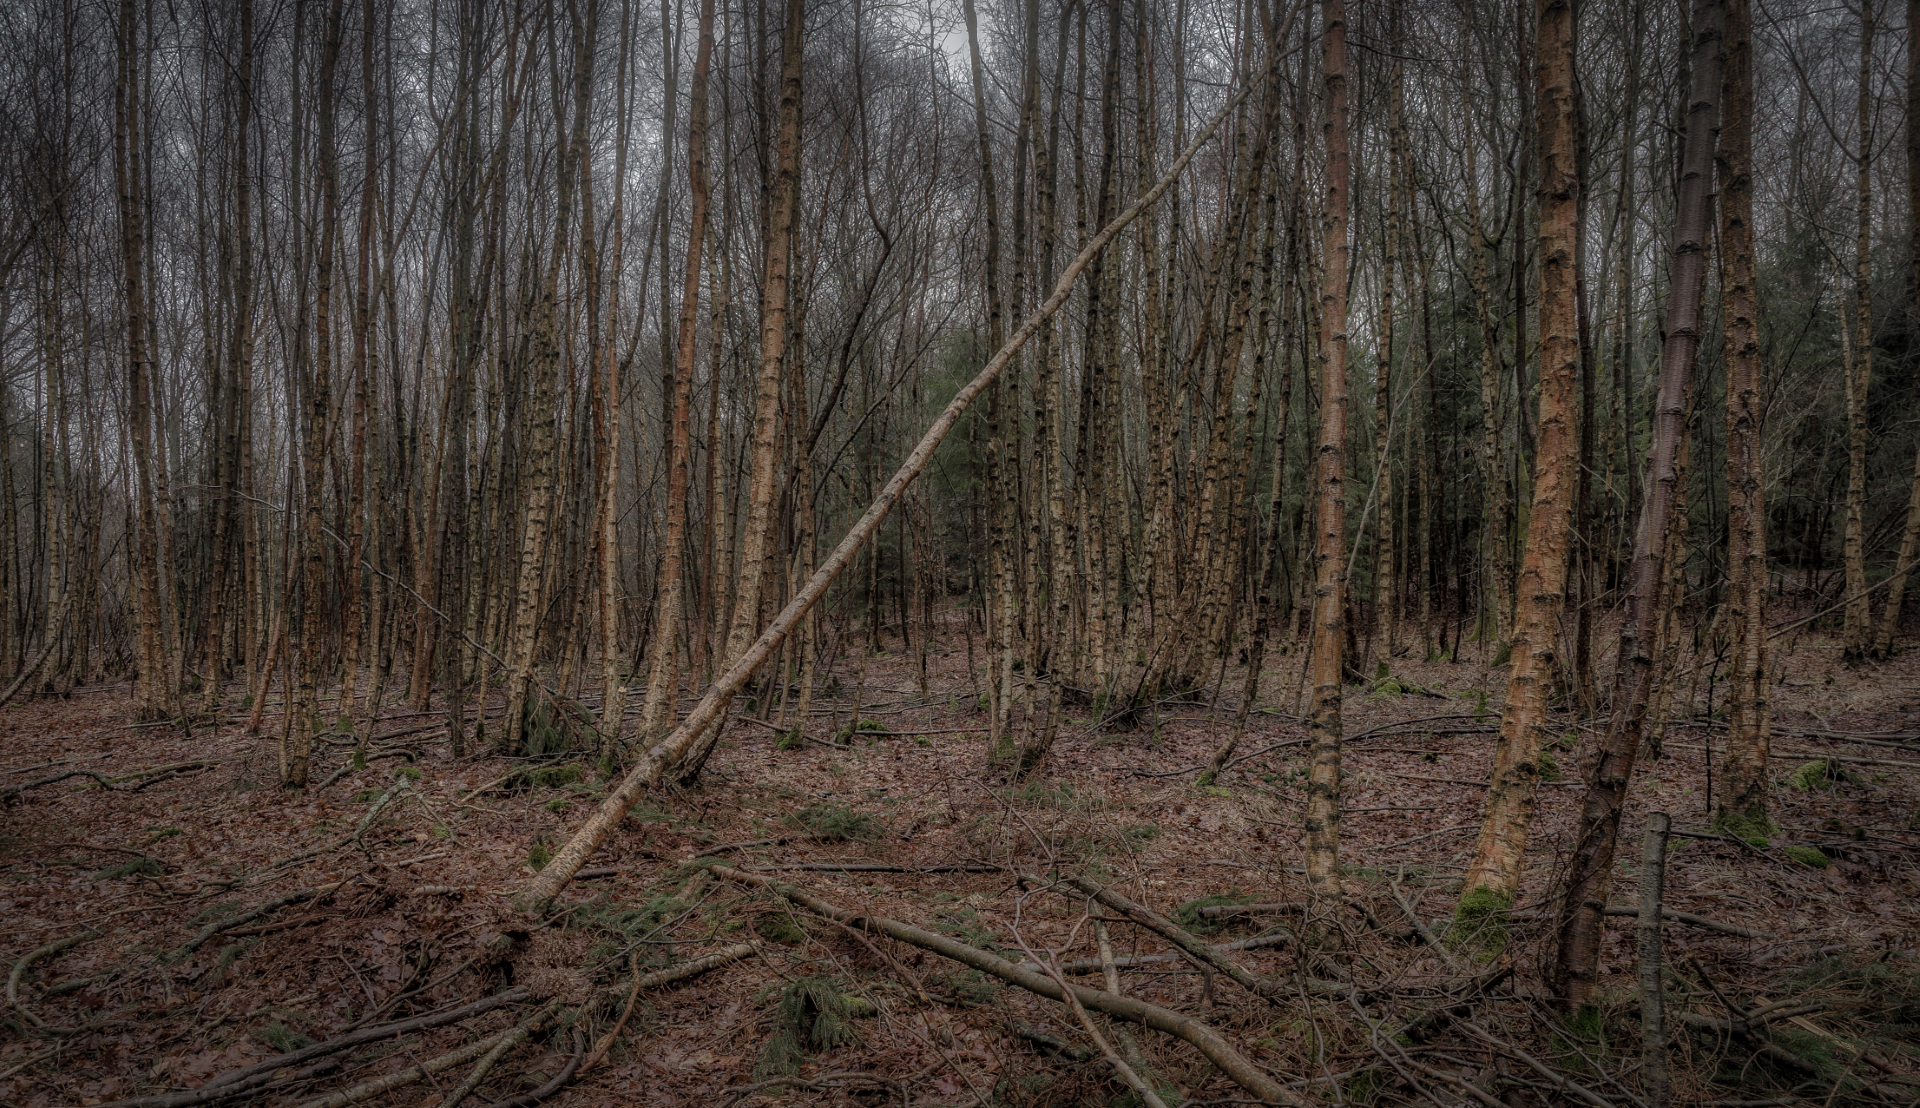
6. There is no bad season for forest photography. They say fall is the best season with the leaves turning orange, yellow, and sometimes even purple, and sure, that may be true, but even in the most dreary, yucky, muddy, gray part of winter, forests have lots to offer. Make a virtue of necessity and capture the dreariness, the yuckiness, the grayness. And notice how completely different the exact same location looks during different seasons.
[ics-comparison-slider id=1]
7. Long exposure photography is good for many things, but be careful when using it in the forest. The least bit of wind in the leaves will make your images blurry at slower shutter speeds. Of course, I can't give you a minimum shutter speed to go by. It depends on how strong the wind is and how much movement in the leaves. Just be aware of it.
8. Use a tripod. Even though I just stated that long-exposures in the forest can be a problem, you are often caught in the dilemma between using a low ISO to avoid noise in the shady parts and keeping exposure times down enough to avoid blur in the leaves. Forests are by definition relatively dark places, and as a result, don't expect to be able to use really fast shutter speeds either. Handheld photography may be possible on bright days in the forest, but usually the result is noticeably better when you use a tripod. Besides, because forests form a pretty good windshield, there will be days that are completely still where exposures of several seconds will come out just fine.
9. As you leave the path, try to make your way downhill. Eventually you will come across water in the shape of little creeks or tiny forest lakes. Water = reflections, reflections = good.
10. A tree is not just a tree. The forest consists of tons of trees, and sure, most of them are rather indistinct and non-photogenic. But keep your eyes open and you will see exceptionally beautiful trees that just stand out among all the others. Grab them.
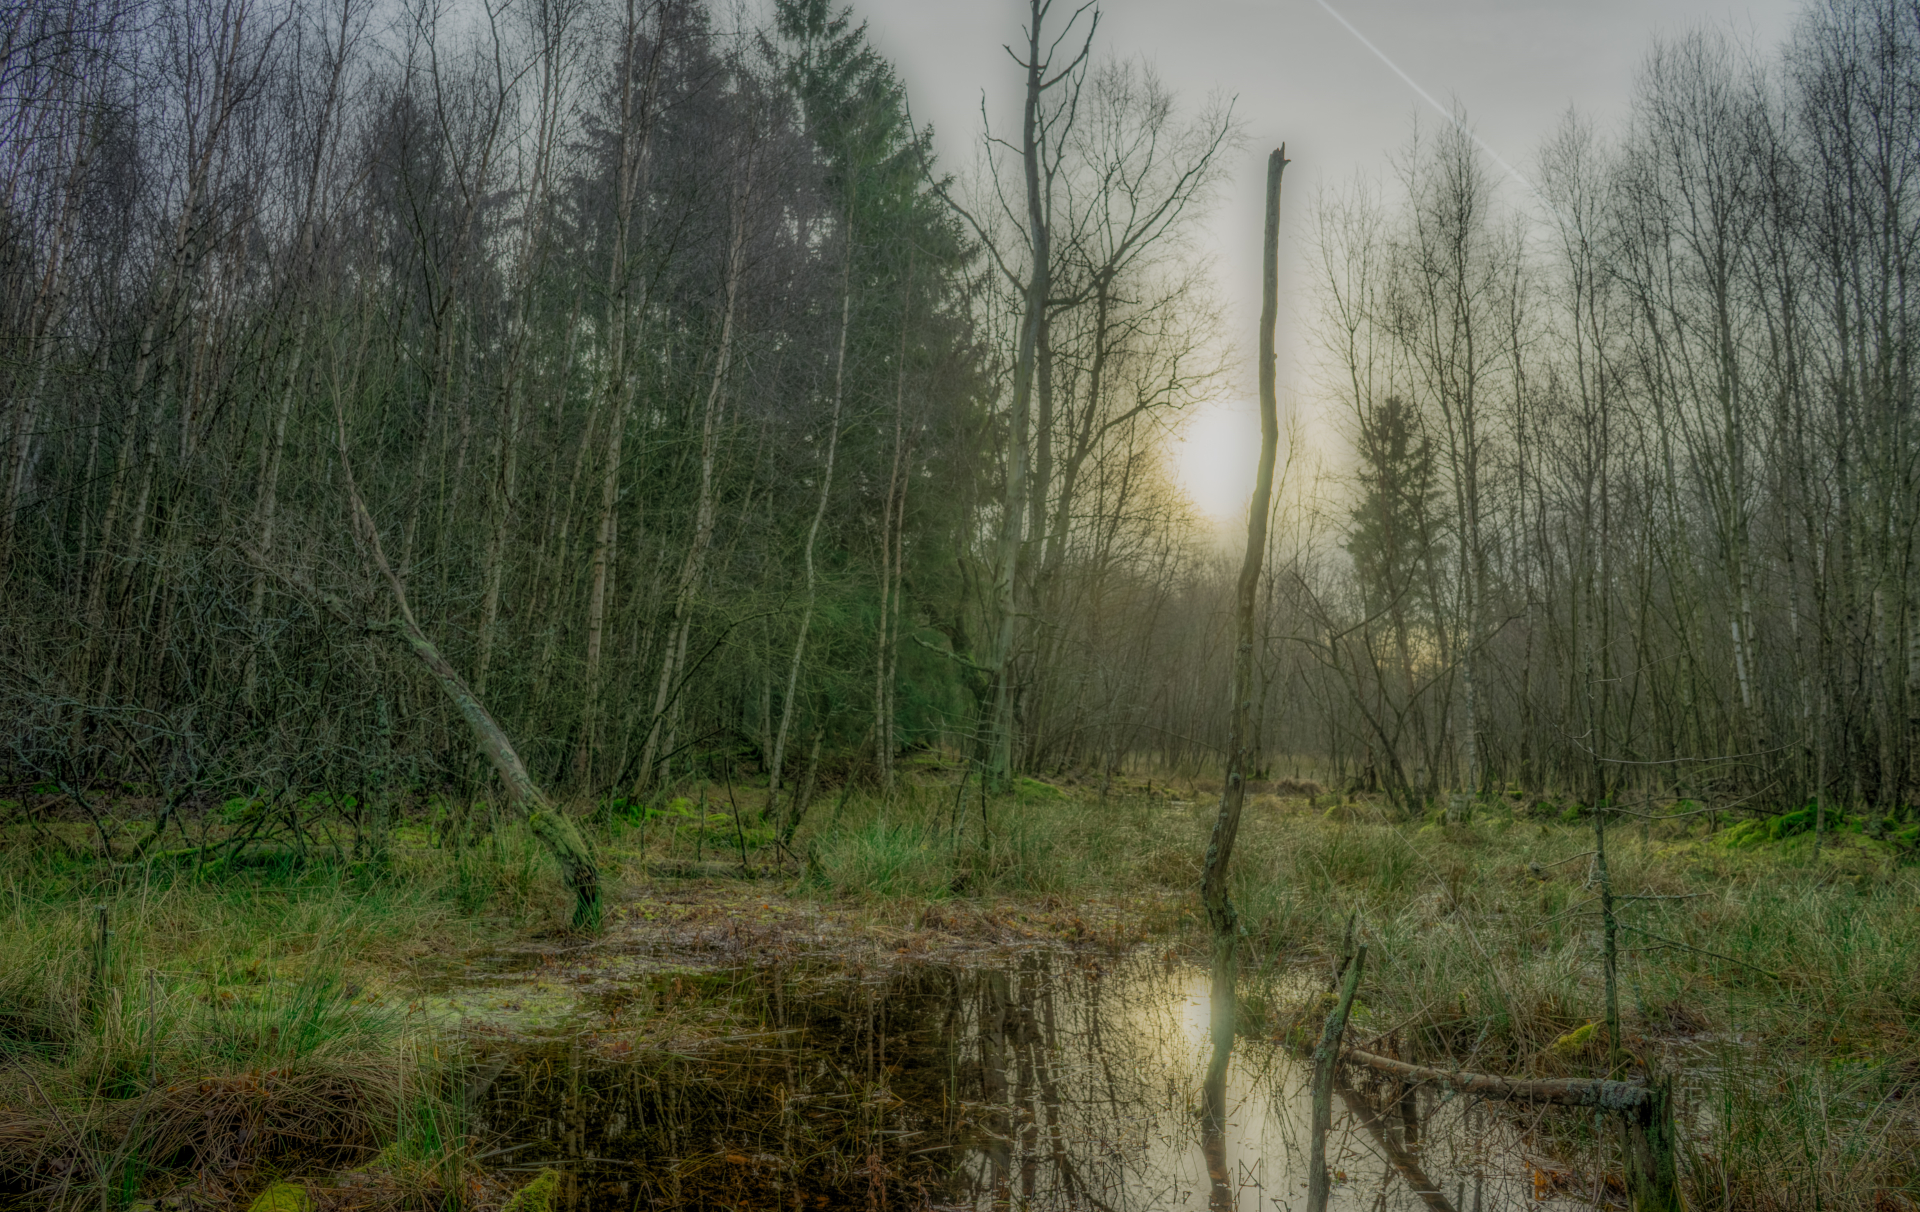
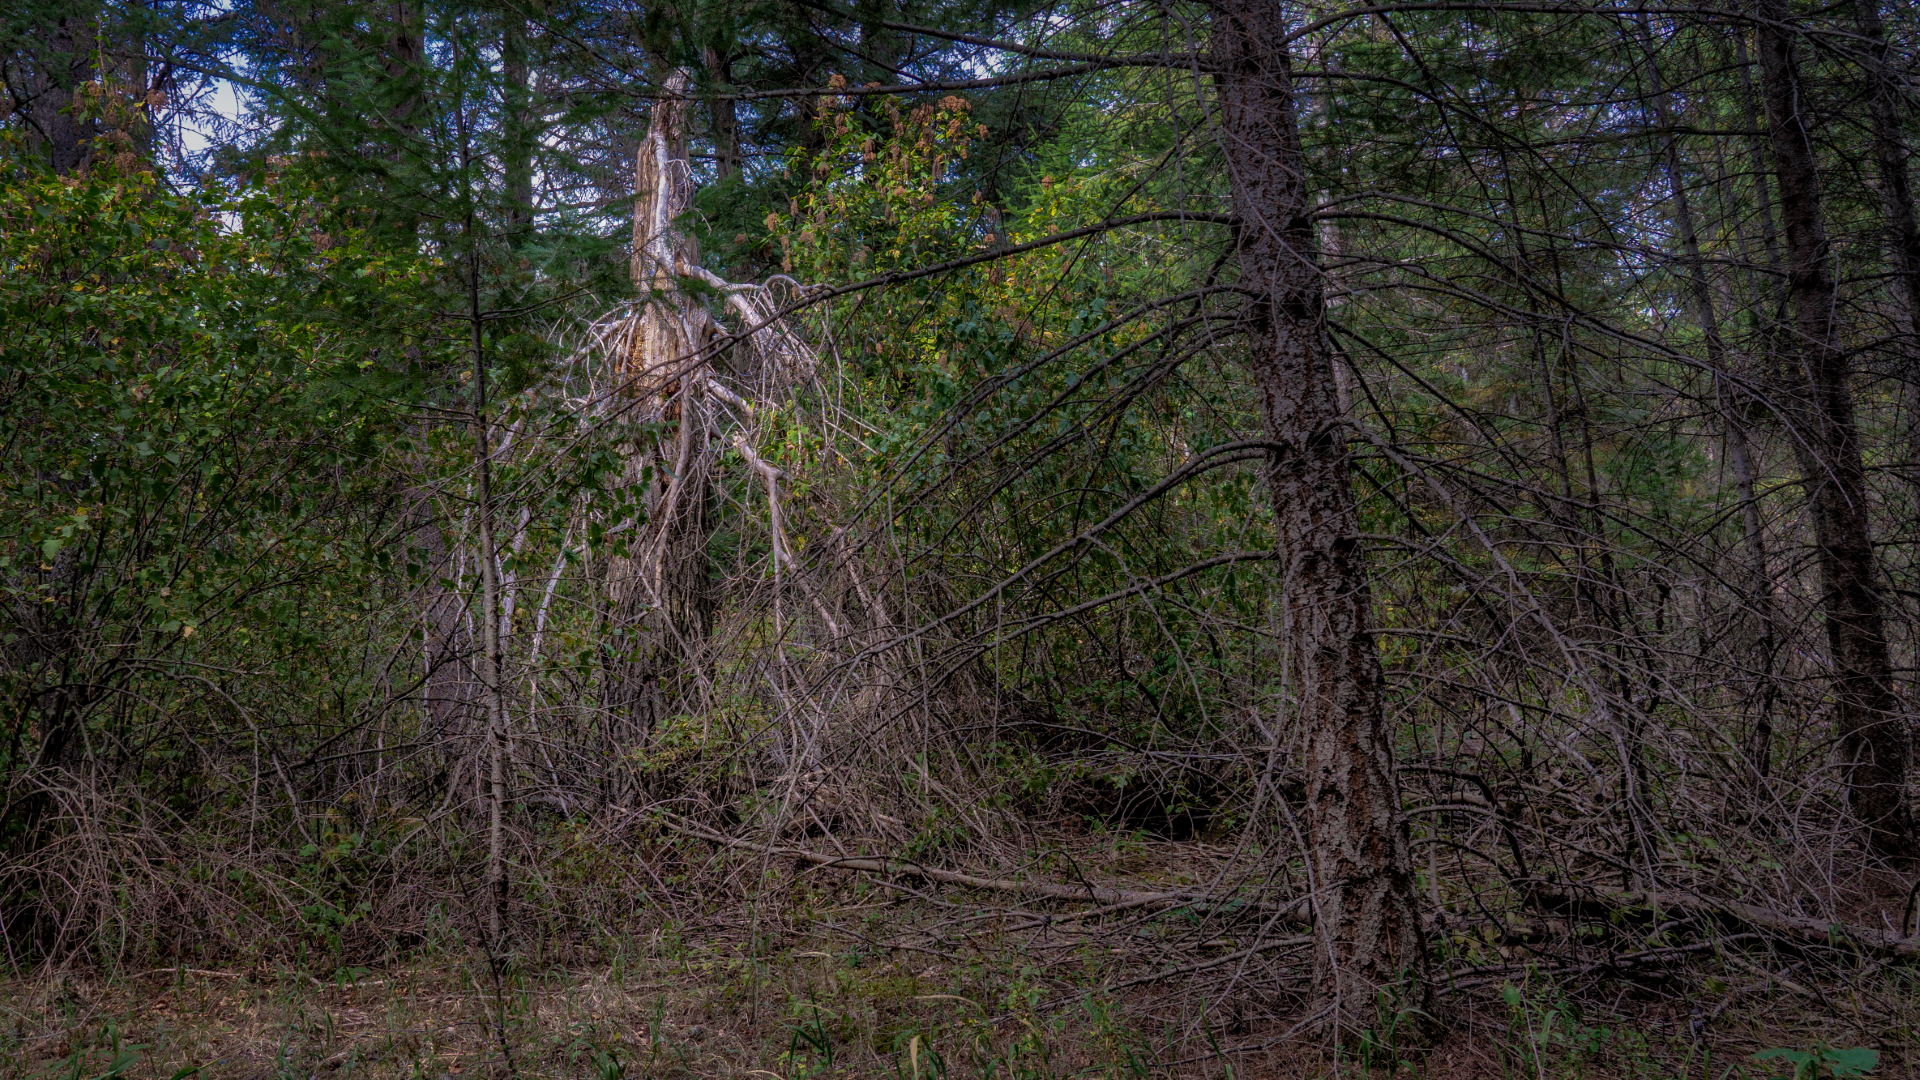
11. Some trees are worth more dead than alive! For some reason gray, leafless and lifeless trees make for great photography subjects. This image is the only one not from Denmark, but from Idaho. I called it "The Ghost".
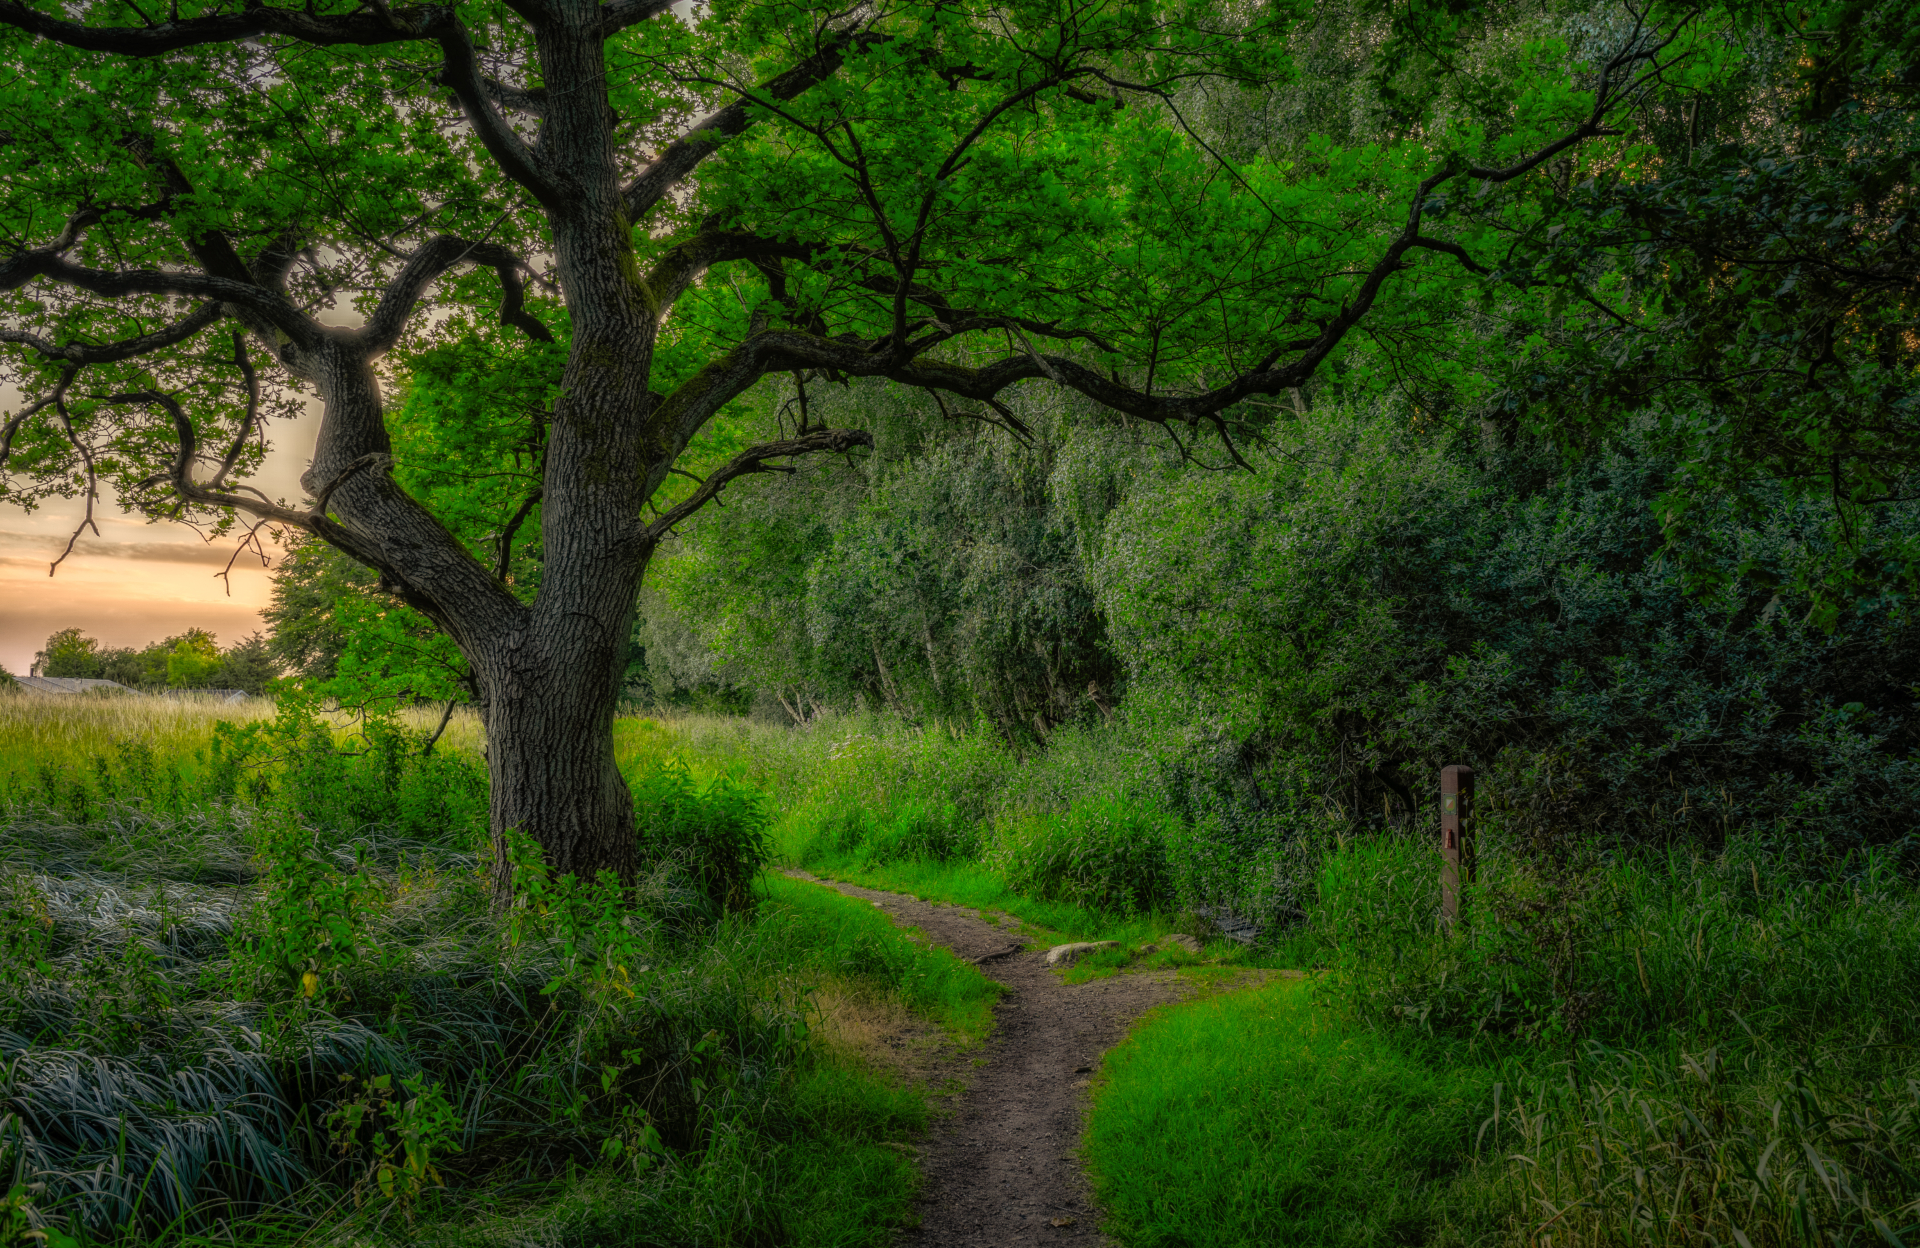
12. You don't have to go deep into a forest to find the best compositions. The edge of the forest, or an edge to a clearing or a lake in the forest, are gold in forest photography. That's where the light is at its best and where you can find interesting contrasts and focus points.
So those were my best tips for forest photography. Since I mostly operate in Danish deciduous forests, I can't guarantee things work quite the same way in other types of forest in other parts of the world. What I'm certain goes for all forests is that they provide an endless array of opportunities for photographers if you keep your eyes open and are not afraid of straying from the beaten path.